Sunday, March 3, 2013

Reveal: My Kitchen Command Center

Oooookay. I had so many titles I thought of for this entry.

1. My Cloffice (closet office) 
2. My Sanity Saver or 
3. The project that improved my marriage

But Kitchen Command Center is much more sexy searchable in Google, so I went with that one. 

Now before anyone gets worried (mom), this marriage isn't in trouble. However, the piles of papers on our kitchen island were a stressor for everyone. I mean, you can only do the "shit shuffle" so many times before you just want to dump it in the trash, right? I will also share that prior to this space being created, I had ONE kitchen drawer for my stuff (papers, planners, etc) and my kids' papers, info. ONE kitchen drawer people! I could never find anything.

We started with this closet...and this picture was taken after taking the door off and after we had de-cluttered stuff a bit, but this space was not being used properly at all. It was a bifold door that was never closed, so always stuck out in the walkway. An eyesore and unnecessary, so it came off. And that got the wheels turning!


What you can't see in this picture is the small space inside the closet on the left side. It's 9" wide x 15" deep and I had high hopes of putting shelving in there...a shelf for each child and one for me! My Father in law was able to execute them perfectly! He is my go to for these types of things!

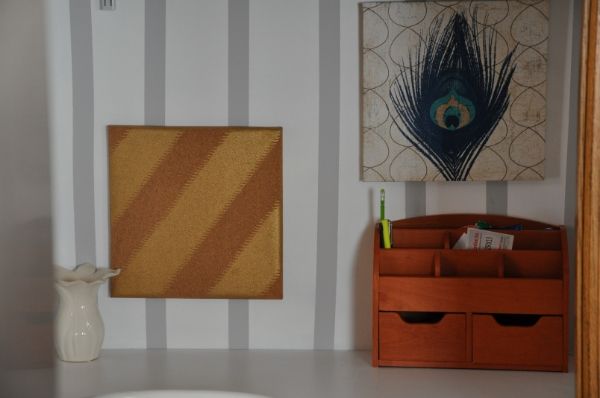
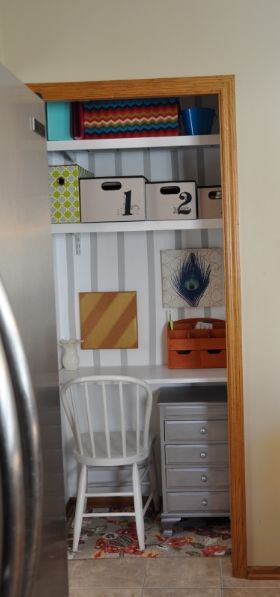
I plan on going through the steps and costs in a follow up blog entry, but here are pictures I took today. I think I still need a few things for the wall, but the storage is perfect and so is the space. My oldest (1st grade) loves doing his homework here!

Apologies on the awkward angles...my refrigerator sticks out so that getting a picture head on isn't possible.
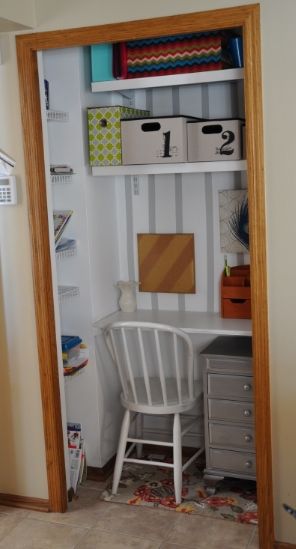


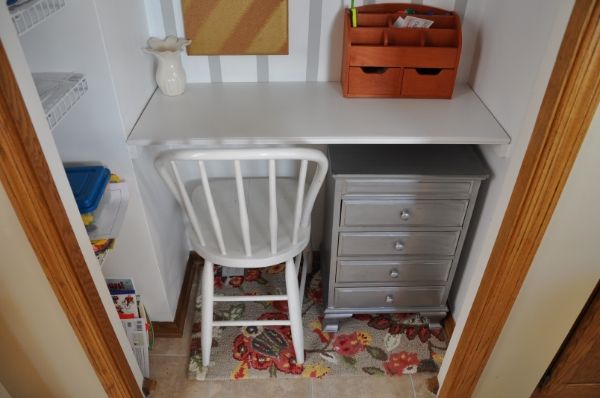
A melamine board trimmed with moulding for the desk, a thrifted ($4.99 @ Goodwill...poppin tags!) chair, and a nightstand stolen from our guest room. Oh how I searched for something with the perfect dimensions...and this was already in my house!

Fantastic storage bins from Tuesday Morning...if you haven't been, you must go! And yes, I'm hiding that game from my children...have you heard the noise it makes? My ears are still bleeding.
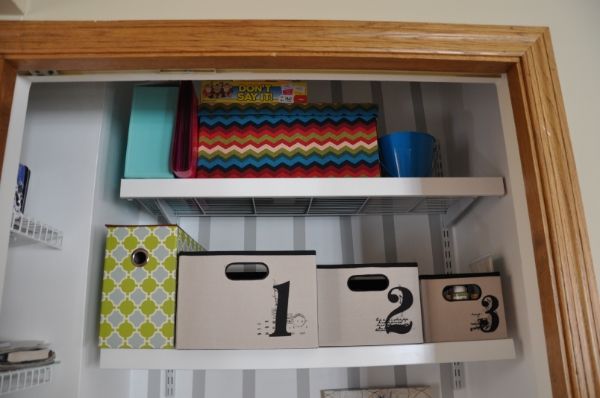


Perfectly sized shelf for all of those papers that come home from school. Plus the top shelf for lunch box storage! Love!
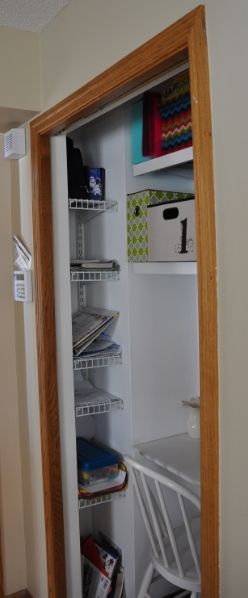


As a reminder, here is the before (can you tell I love the improvement!).


I'll do a step by step and cost breakdown within the next week if people are interested.

~Allison


Wednesday, February 27, 2013

Made Over: A Pair of Dining Arm Chairs

I am LOOOOVING how these turned out. I think I love them because they are cheery and remind me of spring. Which I desperately need. Now.

Here's how they started. Heavy, solid and no gluing needed...just how I like them!


Here they are...all dressed up. Painted white with some awesome zig-zag fabric. Swoon!!


I just love these colors!!


I would've loved to do a glossy white on these, but the wood was peeling on the arms, so unless I wanted to put a lot of work into them (which rarely pays in the end when consigning items), I needed to distress them. I love them anyway!

~Allison
{Primp}
Liz Marie Blog
Furniture Feature Fridays The Shabby Nest
DIY Show Off
- See more at: http://diyshowoff.com/buttons/#sthash.2EubKnoQ.dpuf Read more at http://diyshowoff.com/buttons/#5Q05mayXlmdLP734.99

Tuesday, February 19, 2013

Repurposed End Table from the 70's

I recently bought a set of 3 end tables. Two were identical and one was part of the set, complimenting the others. I recently finished the identical pair like this:


So when it came time to paint the 3rd one, I thought I'd try a darker wax over the same paint.

FAIL. You can't see how bad it is from this picture, but trust me.


It was so bad. And I didn't feel like stripping the top. Call it laziness, whatever...but I'd seen this idea on Pinterest:


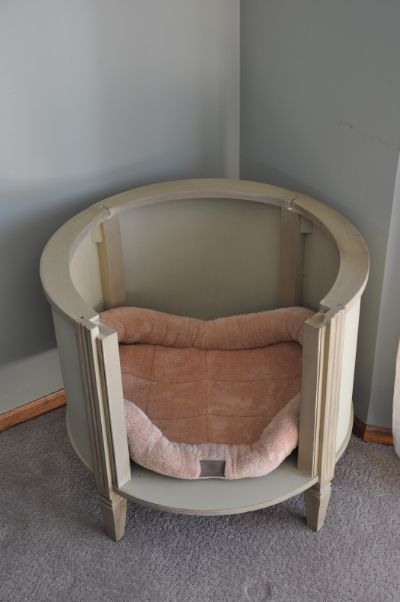
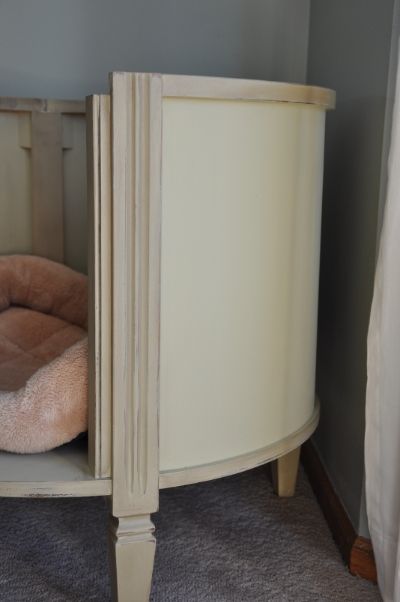
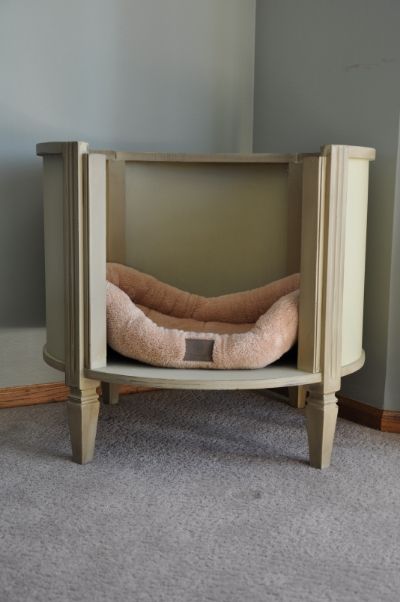
So I unscrewed the top and went to town. I totally changed up the color, bought a dog bed and finished it up today!


Zelo sniffed it out, but her 60 lbs wouldn't fit in there...and she knew it. It was fun to do something a little different than my norm. Hope you enjoyed it!

~Allison
Photobucket
Liz Marie Blog
The Shabby Nest Furniture Feature Fridays Photobucket


Saturday, February 9, 2013

Brazillian Dresser

I haven't finished anything that I'm extra excited about recently, but this dresser is a game changer!

My friend Cris, who is from Brazil, emailed me a few weeks ago saying she needed to get rid of a dresser because she was moving. But she explained that it was "very heavy". Being that I've been schlepping furniture around for 2+ years, I figured "no problem". Uh huh. With the drawers in, Cris and I couldn't even budge it. I called my super-husband and he came by to help us get it in my car.

This dresser is the best made piece I've ever worked on. Amazing wood and plank bottom drawers that are pristine!

Here is the before:


Here she is today. I wanted to preserve the orignal wood where possible. Both of the sides had started splitting vertically, but had been reinforced inside to prevent it falling apart...so no matter how hard I cranked on the vice, that wood was not going back together. So,I filled the cracks with wood filler. Some paint and pulls from Anthropologie completed this beauty!


Aged in all the right places!

Swooning over the beauty inside the drawers!


I am seriously giddy over this one. It puts a smile on my face!

~Allison
DIY Show Off
Read more at http://diyshowoff.com/2013/02/10/that-diy-party-3/#AJ3Q59ccWWL0xERc.99


My Uncommon Slice of Suburbia
Furniture Feature Fridays The Shabby Nest