Monday, June 27, 2011

The Big Beast

This was the largest piece I've done to date...the heaviest and longest. A friend wanted to break up her bedroom set...she was tired of having all mocha colored furniture. She sent me a picture of something she found on Etsy that she loved...but it had a high price tag. She asked if I could re-create the look if she found the dresser. I said sure!

Photobucket

She found this beauty on Craigslist and dropped it off at my house. She wanted cup pulls, but no cup pulls existed that would fit the current hardware (pretty, ornate pulls, but not her style) drill holes, so I patched those up with wood filler. 5 coats of white, lots of distressing and dark walnut stain as glaze later....here she is, sans hardware. At this point in my painting career, I'm not confident enough to drill new holes in someone else's nice dresser. Her husband can do that. LOL! But imagine...oil rubbed bronze cup pulls on the bottom 6 drawers and 2 amber colored crystal knobs on each top drawer. To die for?? I think so!

Photobucket
Photobucket
Photobucket
Photobucket
Photobucket

Please excuse the lack of staging...she was just too big to move!

~Allison

Linking up here
Photobucket
Domestically Speaking
Somewhat Simple
A Little Knick KnackFurniture Feature FridaysThe Shabby Nest
Funky Junk's Sat Nite Special
The DIY Show Off

Saturday, June 25, 2011

New Favorite Color and Tag Sale Fun

Happy Saturday Dear Readers! The hubs and I just finished a 5 mile race, so the weekend is off to a great start!

If you are in Minneapolis, there is a fabulous event happening tomorrow at Style Minneapolis from 9-3p. Style is having a TAG SALE...goods from different vendors at amazing prices...and many shop items are significantly reduced too! I am telling you, if you haven't been to this shop, you are missing OUT! Fabulous goods for the home and amazing jewelry. Shayne, the owner, just started blogging and would love to have you follow along! Her blog, Classic Luxe is eye candy and wisdom rolled into one! And if you can't make it to the shop this weekend, check out her Facebook page here to get an idea of what you are missing! The address is also on her FB page.

I will have a few items at the sale...crossing my fingers that they sell so I can thrift my little heart out this week and get some new inventory!

Onto my new favorite color...Leafy Green by Rustoleum! I've seen a few furniture re-do's in this color, so I wanted to try it for myself. And I love it.....

No before photo of this little table, but it's solid oak and had a nasty stain on the top. I decided to use my bamboo shaped painter's tape to spruce this up a bit. I painted the top white before putting the tape on. Then I sprayed Leafy Green over the entire thing. I'm loving the results!
Photobucket
Photobucket
Photobucket
Photobucket

Go get a can of Leafy Green and try it out! It's happiness in a can! And no, Rustoleum isn't paying me for this....but maybe they should ;)

~Allison

Linking here

UndertheTableandDreaming The DIY Show Off
PhotobucketSomewhat Simplehttp://fabrehabcreations.blogspot.com/2011/06/big-beast.html

Tuesday, June 21, 2011

DIY Faux Headboard: A Semi-Tutorial

This project has been a long time in the works and I've been super excited about it...even though I didn't know that it would turn out well. I am calling this a "semi" tutorial because not every step was photographed.

I found these two frames at a barn sale last month for $5 each. I thought they were so pretty...but huge...26x38!.
Photobucket
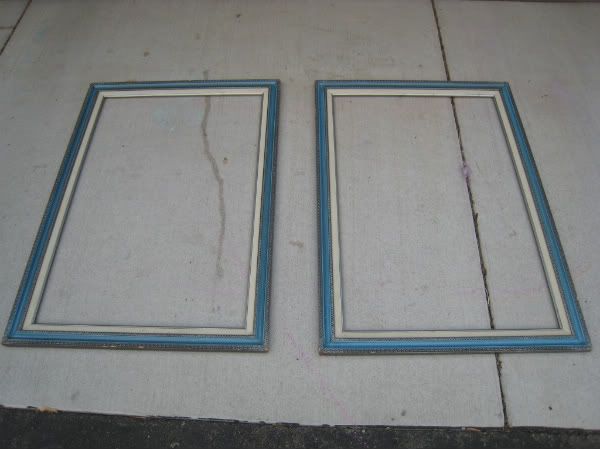
When I found these, I was also trying to find the perfect headboard for our guest room. Do you get where this is going? I had an ephiphany that these might work as a faux headboard in that room. At five bucks each, I had nothing to lose, so I took them home with me.

Patience is not something I am skilled in, so I came up with a plan immediately. I took them upstairs and made sure they would fit. Vertically, they were perfect together for a queen bed! Eeek!

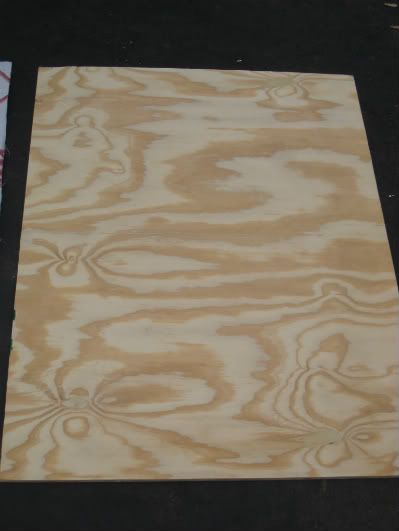
I got out the measuring tape and measured the inside of the frame. I then subtracted 1 inch vertially and horizontally and took my measurement list to Home Depot. I got two of these boards to serve as the backing for the headboard.
Photobucket

Next, I needed to choose fabric. I wanted it to coordinate with the new guest room bedding, but it couldn't be too busy, as the duvet has a lot going on. Here is the bedding...I couldn't figure out how to post the actual picture here...sorry!
http://www1.macys.com/catalog/product/index.ognc?ID=451722&CategoryID=28892#fn=sp%3D1%26spc%3D18

I headed to Hancock Fabrics. My first stop is always the remnant bin and che-che check it out...the fabric of my dreams! *choir singing*

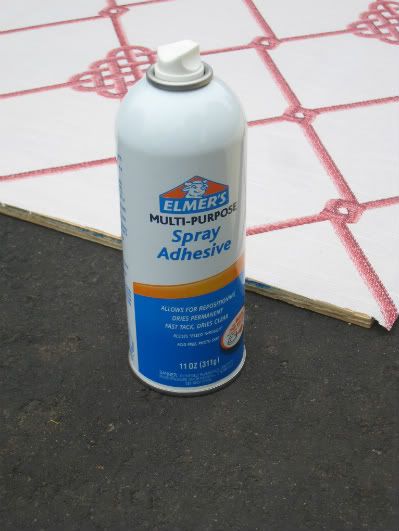
Next, I layed the boards on the underside of the fabric and traced with a yellow marker. I'm high-tech like that ;). I cut the fabric to fit the board and to adhere, used Elmer's spray glue
Photobucket

Once the glue was dry, I loaded my boards and frames into the car and went to see if my father-in-law would help with the next step since I'm not proficient with a drill.

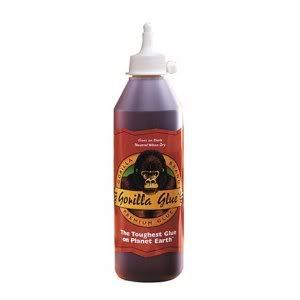
Using Gorilla Glue and small screws, we attached the fabric covered boards to the frames. Forgive me...I have a picture of Gorilla Glue, but not of the boards being attached to the frames.
Photobucket

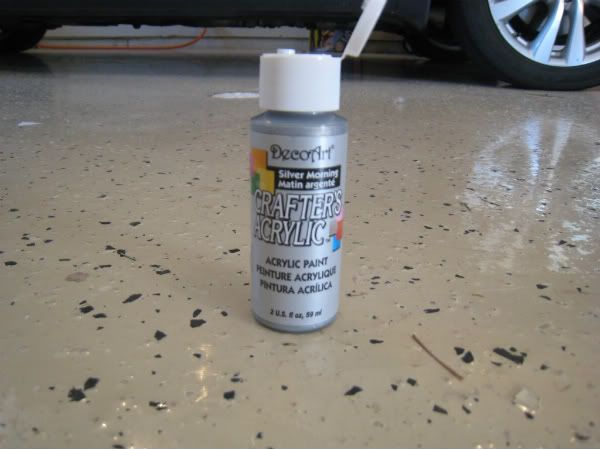
Once that was done, I decided the frames needed a little love. They were not as polished as I wanted to them to look. So I bought some DecoArt acrylic paint in Silver Morning
Photobucket
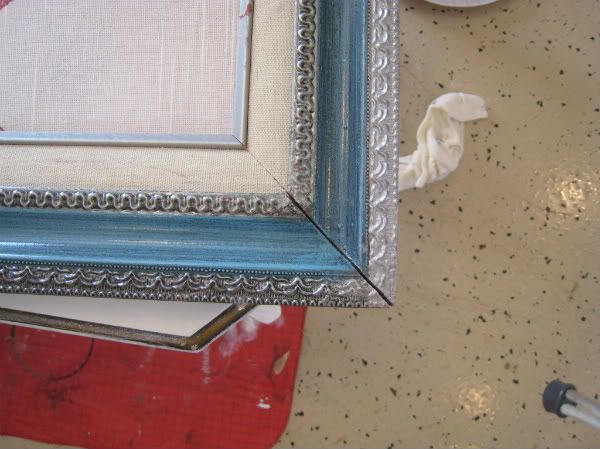
I should have touched up the silver before putting the fabric on, but I'll know better next time. Using a stencil brush, I lightly painted the silver part of the frame and then wiped it off, using it as a glaze. In this picture, you can see the before and after painting with silver.
Photobucket

Once that was dry, they were ready to hang! And here is the final product...
Photobucket
Photobucket
Photobucket
Photobucket

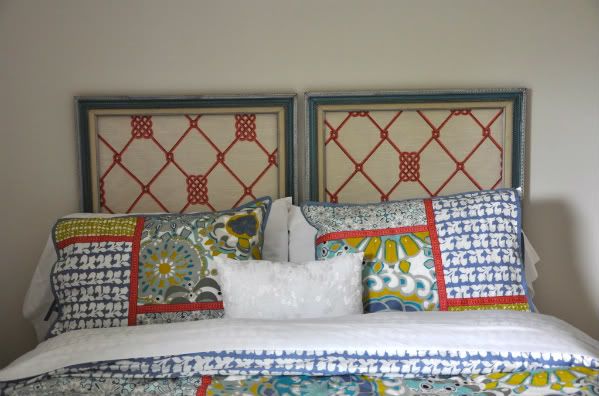
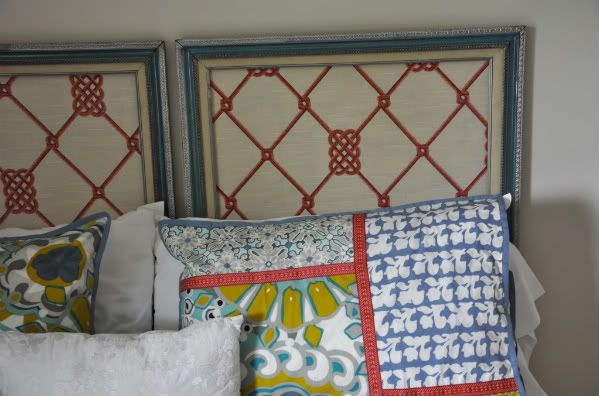
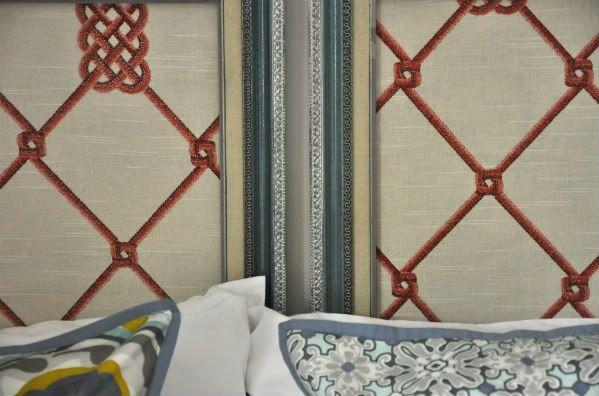
It's not perfect, but overall, I'm pretty happy with it! I would love to know if you think it coordinates with the bedding or if it's just too busy?

If you want to do a similar project, here is a list of things you'll need:
1-2 large frames (depending on the size of your bed)
wood cut to fit the frames
fabric of your choice
spray adhesion product
screws and a drill
Gorilla glue
paint and a paint brush (optional)
proper hardware to hang the faux headboard

Would love to see other versions of this!

~Allison


These parties rock!

Visit thecsiproject.com
DIY Club


lil luna link party button
Transformation Thursday

Somewhat Simple Beyond The Picket Fence
A Little Knick KnackThe Shabby Nest

SAS @ Just A Girl


Funky Junk's Saturday Nite Special


Catch As Catch Can
”Photobucket” UndertheTableandDreaming The DIY Show Off
southern hospitality

Tip Junkie handmade projectsPhotobucket

Sumo's Sweet Stuff


http://thriftydecorchick.blogspot.com/


Funky Junk's Saturday Nite Special